段落
React Native Skia 提供了一个 API,可以使用 Skia 段落 API 执行文本布局。
你好世界
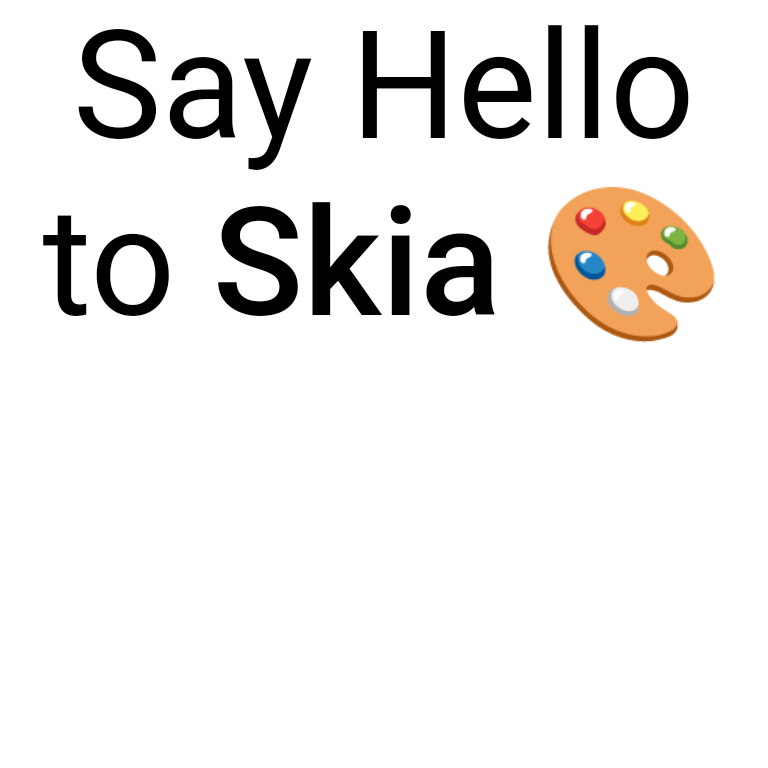
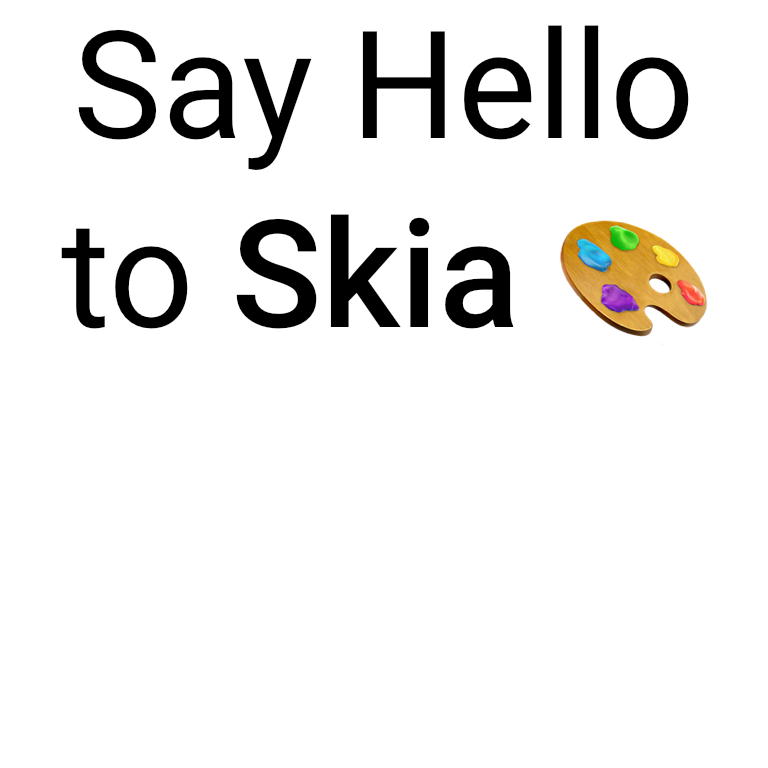
在下面的示例中,我们基于自定义字体创建了一个简单的段落。表情符号将使用平台上可用的表情符号字体进行渲染。其他系统字体也可使用。
tsxuseMemo } from "react";import {Paragraph ,Skia ,useFonts ,TextAlign ,Canvas } from "@shopify/react-native-skia";constMyParagraph = () => {constcustomFontMgr =useFonts ({Roboto : [require ("path/to/Roboto-Regular.ttf"),require ("path/to/Roboto-Medium.ttf")]});constparagraph =useMemo (() => {// Are the font loaded already?if (!customFontMgr ) {return null;}constparagraphStyle = {textAlign :TextAlign .Center };consttextStyle = {color :Skia .Color ("black"),fontFamilies : ["Roboto"],fontSize : 50,};returnSkia .ParagraphBuilder .Make (paragraphStyle ,customFontMgr ).pushStyle (textStyle ).addText ("Say Hello to ").pushStyle ({ ...textStyle ,fontStyle : {weight : 500 } }).addText ("Skia 🎨").pop ().build ();}, [customFontMgr ]);// Render the paragraphreturn (<Canvas style ={{width : 256,height : 256 }}><Paragraph paragraph ={paragraph }x ={0}y ={0}width ={300} /></Canvas >);};
tsxuseMemo } from "react";import {Paragraph ,Skia ,useFonts ,TextAlign ,Canvas } from "@shopify/react-native-skia";constMyParagraph = () => {constcustomFontMgr =useFonts ({Roboto : [require ("path/to/Roboto-Regular.ttf"),require ("path/to/Roboto-Medium.ttf")]});constparagraph =useMemo (() => {// Are the font loaded already?if (!customFontMgr ) {return null;}constparagraphStyle = {textAlign :TextAlign .Center };consttextStyle = {color :Skia .Color ("black"),fontFamilies : ["Roboto"],fontSize : 50,};returnSkia .ParagraphBuilder .Make (paragraphStyle ,customFontMgr ).pushStyle (textStyle ).addText ("Say Hello to ").pushStyle ({ ...textStyle ,fontStyle : {weight : 500 } }).addText ("Skia 🎨").pop ().build ();}, [customFontMgr ]);// Render the paragraphreturn (<Canvas style ={{width : 256,height : 256 }}><Paragraph paragraph ={paragraph }x ={0}y ={0}width ={300} /></Canvas >);};
下面是 Android(左)和 iOS(右)上的结果。
在 Web 上,您需要提供自己的表情符号字体(例如,NotoColorEmoji)并将其添加到字体系列列表中。
tsxuseFonts ,Skia } from "@shopify/react-native-skia";constcustomFontMgr =useFonts ({Roboto : [require ("path/to/Roboto-Regular.ttf"),require ("path/to/Roboto-Medium.ttf")],// Only load the emoji font on WebNoto : [require ("path/to/NotoColorEmoji.ttf")]});// We add Noto to the list of font familiesconsttextStyle = {color :Skia .Color ("black"),fontFamilies : ["Roboto", "Noto"],fontSize : 50,};
tsxuseFonts ,Skia } from "@shopify/react-native-skia";constcustomFontMgr =useFonts ({Roboto : [require ("path/to/Roboto-Regular.ttf"),require ("path/to/Roboto-Medium.ttf")],// Only load the emoji font on WebNoto : [require ("path/to/NotoColorEmoji.ttf")]});// We add Noto to the list of font familiesconsttextStyle = {color :Skia .Color ("black"),fontFamilies : ["Roboto", "Noto"],fontSize : 50,};
使用画笔
您可以将画笔对象用于文本样式的前景和背景。
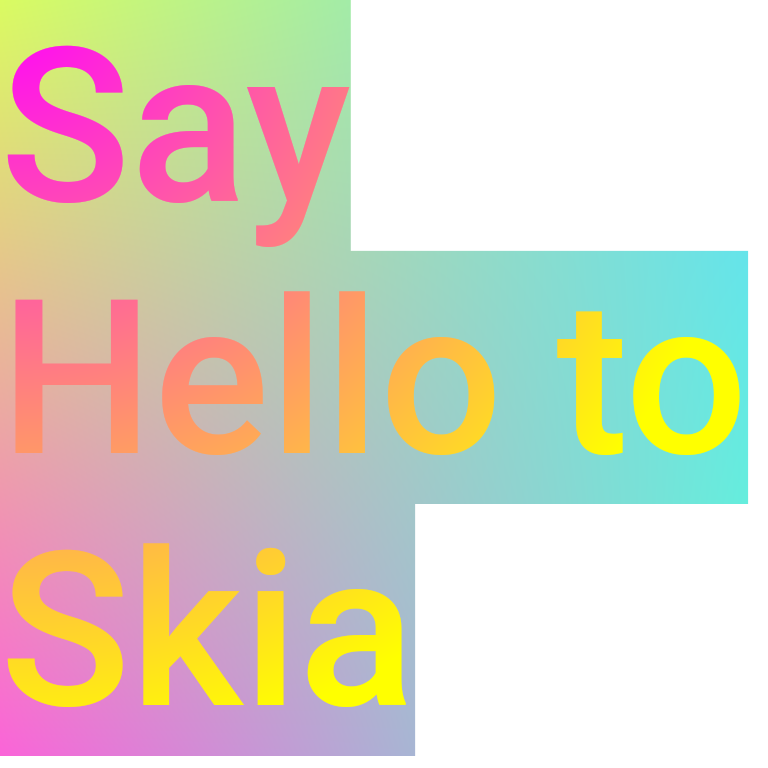
下面我们在文本样式上使用前景和背景画笔
tsxuseMemo } from "react";import {Paragraph ,Skia ,useFonts ,Canvas ,Rect ,TileMode } from "@shopify/react-native-skia";// Our background shaderconstsource =Skia .RuntimeEffect .Make (`uniform vec4 position;uniform vec4 colors[4];vec4 main(vec2 pos) {vec2 uv = (pos - vec2(position.x, position.y))/vec2(position.z, position.w);vec4 colorA = mix(colors[0], colors[1], uv.x);vec4 colorB = mix(colors[2], colors[3], uv.x);return mix(colorA, colorB, uv.y);}`)!;// Define an array of colors for the gradient to be used in shader uniformconstcolors = [// #dafb610.85, 0.98, 0.38, 1.0,// #61dafb0.38, 0.85, 0.98, 1.0,// #fb61da0.98, 0.38, 0.85, 1.0,// #61fbcf0.38, 0.98, 0.81, 1.0];constMyParagraph = () => {constparagraph =useMemo (() => {// Create a background paint.constbackgroundPaint =Skia .Paint ();backgroundPaint .setShader (source .makeShader ([0, 0, 256, 256, ...colors ]));// Create a foreground paint. We use a radial gradient.constforegroundPaint =Skia .Paint ();foregroundPaint .setShader (Skia .Shader .MakeRadialGradient ({x : 0,y : 0 },256,[Skia .Color ("magenta"),Skia .Color ("yellow")],null,TileMode .Clamp ));constpara =Skia .ParagraphBuilder .Make ().pushStyle ({fontFamilies : ["Roboto"],fontSize : 72,fontStyle : {weight : 500 },color :Skia .Color ("black"),},foregroundPaint ,backgroundPaint ).addText ("Say Hello to React Native Skia").pop ().build ();returnpara ;}, []);return (<Canvas style ={{width : 256,height : 256 }}><Paragraph paragraph ={paragraph }x ={0}y ={0}width ={256} /></Canvas >);};
tsxuseMemo } from "react";import {Paragraph ,Skia ,useFonts ,Canvas ,Rect ,TileMode } from "@shopify/react-native-skia";// Our background shaderconstsource =Skia .RuntimeEffect .Make (`uniform vec4 position;uniform vec4 colors[4];vec4 main(vec2 pos) {vec2 uv = (pos - vec2(position.x, position.y))/vec2(position.z, position.w);vec4 colorA = mix(colors[0], colors[1], uv.x);vec4 colorB = mix(colors[2], colors[3], uv.x);return mix(colorA, colorB, uv.y);}`)!;// Define an array of colors for the gradient to be used in shader uniformconstcolors = [// #dafb610.85, 0.98, 0.38, 1.0,// #61dafb0.38, 0.85, 0.98, 1.0,// #fb61da0.98, 0.38, 0.85, 1.0,// #61fbcf0.38, 0.98, 0.81, 1.0];constMyParagraph = () => {constparagraph =useMemo (() => {// Create a background paint.constbackgroundPaint =Skia .Paint ();backgroundPaint .setShader (source .makeShader ([0, 0, 256, 256, ...colors ]));// Create a foreground paint. We use a radial gradient.constforegroundPaint =Skia .Paint ();foregroundPaint .setShader (Skia .Shader .MakeRadialGradient ({x : 0,y : 0 },256,[Skia .Color ("magenta"),Skia .Color ("yellow")],null,TileMode .Clamp ));constpara =Skia .ParagraphBuilder .Make ().pushStyle ({fontFamilies : ["Roboto"],fontSize : 72,fontStyle : {weight : 500 },color :Skia .Color ("black"),},foregroundPaint ,backgroundPaint ).addText ("Say Hello to React Native Skia").pop ().build ();returnpara ;}, []);return (<Canvas style ={{width : 256,height : 256 }}><Paragraph paragraph ={paragraph }x ={0}y ={0}width ={256} /></Canvas >);};
应用效果
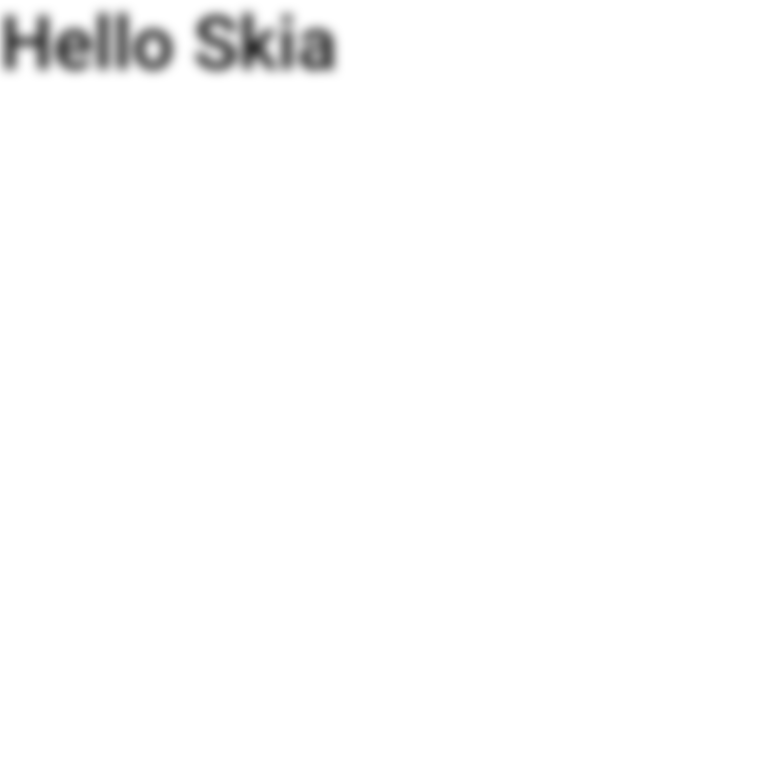
Paragraph 组件不遵循与其他组件相同的绘制规则。但是,您可以使用 layer 属性应用效果。例如,在下面的示例中,我们应用模糊图像滤镜。
tsxReact from "react";import {Canvas ,Skia ,Group ,Paint ,Blur ,Paragraph } from "@shopify/react-native-skia";constwidth = 256;constheight = 256;export constDemo = () => {constparagraph =Skia .ParagraphBuilder .Make ().pushStyle ({color :Skia .Color ("black"),fontSize : 25,}).addText ("Hello Skia").build ();return (<Canvas style ={{flex : 1 }}><Group layer ={<Paint ><Blur blur ={10} /></Paint >}><Paragraph paragraph ={paragraph }x ={0}y ={0}width ={width } /></Group ></Canvas >);};
tsxReact from "react";import {Canvas ,Skia ,Group ,Paint ,Blur ,Paragraph } from "@shopify/react-native-skia";constwidth = 256;constheight = 256;export constDemo = () => {constparagraph =Skia .ParagraphBuilder .Make ().pushStyle ({color :Skia .Color ("black"),fontSize : 25,}).addText ("Hello Skia").build ();return (<Canvas style ={{flex : 1 }}><Group layer ={<Paint ><Blur blur ={10} /></Paint >}><Paragraph paragraph ={paragraph }x ={0}y ={0}width ={width } /></Group ></Canvas >);};
结果
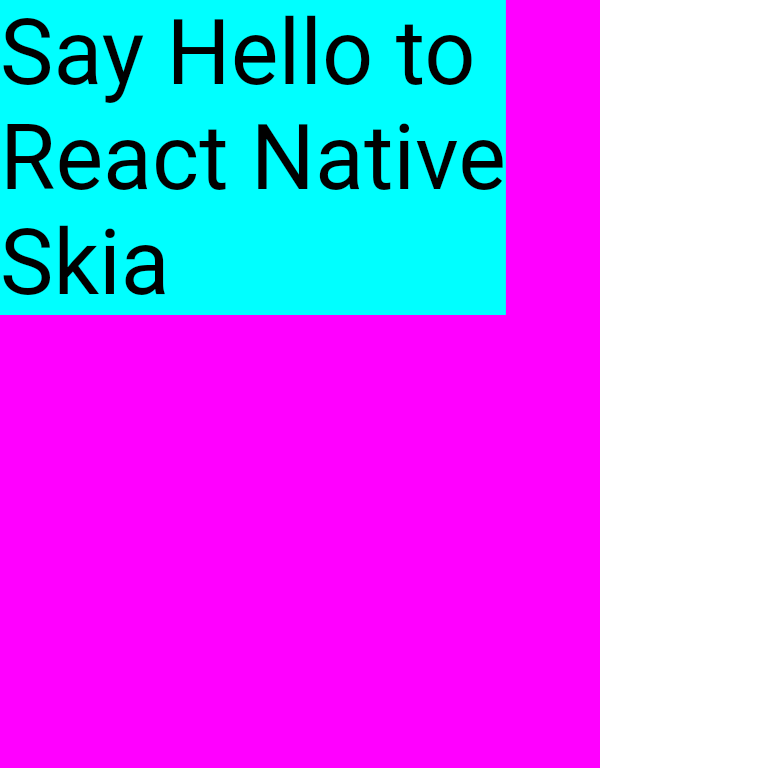
段落边界框
在获取段落的高度和宽度之前,您需要使用 layout() 计算其布局,完成后,您可以调用 getHeight() 获取高度,调用 getLongestLine() 获取宽度。
tsxuseMemo } from "react";import {Paragraph ,Skia ,useFonts ,Canvas ,Rect } from "@shopify/react-native-skia";constMyParagraph = () => {constparagraph =useMemo (() => {constpara =Skia .ParagraphBuilder .Make ().addText ("Say Hello to React Native Skia").build ();// Calculate the layoutpara .layout (200);returnpara ;}, []);// Now the paragraph height is availableconstheight =paragraph .getHeight ();constwidth =paragraph .getLongestLine ();// Render the paragraphreturn (<Canvas style ={{width : 256,height : 256 }}>{/* Maximum paragraph width */}<Rect x ={0}y ={0}width ={200}height ={256}color ="magenta" />{/* Paragraph bounding box */}<Rect x ={0}y ={0}width ={width }height ={height }color ="cyan" /><Paragraph paragraph ={paragraph }x ={0}y ={0}width ={200} /></Canvas >);};
tsxuseMemo } from "react";import {Paragraph ,Skia ,useFonts ,Canvas ,Rect } from "@shopify/react-native-skia";constMyParagraph = () => {constparagraph =useMemo (() => {constpara =Skia .ParagraphBuilder .Make ().addText ("Say Hello to React Native Skia").build ();// Calculate the layoutpara .layout (200);returnpara ;}, []);// Now the paragraph height is availableconstheight =paragraph .getHeight ();constwidth =paragraph .getLongestLine ();// Render the paragraphreturn (<Canvas style ={{width : 256,height : 256 }}>{/* Maximum paragraph width */}<Rect x ={0}y ={0}width ={200}height ={256}color ="magenta" />{/* Paragraph bounding box */}<Rect x ={0}y ={0}width ={width }height ={height }color ="cyan" /><Paragraph paragraph ={paragraph }x ={0}y ={0}width ={200} /></Canvas >);};
字体
默认情况下,段落 API 将使用系统字体。您也可以使用自定义字体。
useFonts 钩子允许您加载自定义字体以用于您的 Skia 绘图。字体文件应按系列名称组织。例如
tsxuseFonts } from "@shopify/react-native-skia";constfontMgr =useFonts ({Roboto : [require ("./Roboto-Medium.ttf"),require ("./Roboto-Regular.ttf"),require ("./Roboto-Bold.ttf"),],Helvetica : [require ("./Helvetica.ttf")],});if (!fontMgr ) {// Returns null until all fonts are loaded}// Now the fonts are available
tsxuseFonts } from "@shopify/react-native-skia";constfontMgr =useFonts ({Roboto : [require ("./Roboto-Medium.ttf"),require ("./Roboto-Regular.ttf"),require ("./Roboto-Bold.ttf"),],Helvetica : [require ("./Helvetica.ttf")],});if (!fontMgr ) {// Returns null until all fonts are loaded}// Now the fonts are available
您还可以通过 listFontFamilies() 函数列出可用的系统字体。
设置段落样式
这些属性定义了段落的整体布局和行为。
| 属性 | 描述 |
|---|---|
disableHinting | 控制是否禁用文本提示。 |
ellipsis | 指定文本溢出时用于省略号的文本。 |
heightMultiplier | 将行高设置为字体大小的倍数。 |
maxLines | 段落的最大行数。 |
replaceTabCharacters | 确定是否应将制表符替换为空格。 |
strutStyle | 定义支柱样式,这会影响行的最小高度。 |
textAlign | 设置文本的对齐方式(左、右、居中、两端对齐、开始、结束)。 |
textDirection | 确定文本方向(RTL 或 LTR)。 |
textHeightBehavior | 控制第一行和最后一行中文本上升和下降的行为。 |
textStyle | 段落的默认文本样式(可以被单独的文本样式覆盖)。 |
下面是一个使用 textAlign 属性居中文本的示例
tsxuseMemo } from "react";import {Paragraph ,Skia ,TextAlign ,Canvas ,Rect } from "@shopify/react-native-skia";constMyParagraph = () => {constparagraph =useMemo (() => {constpara =Skia .ParagraphBuilder .Make ({textAlign :TextAlign .Center ,}).addText ("Say Hello to React Native Skia").build ();returnpara ;}, []);// Render the paragraph with the text centerreturn (<Canvas style ={{width : 256,height : 256 }}><Paragraph paragraph ={paragraph }x ={0}y ={0}width ={200} /></Canvas >);};
tsxuseMemo } from "react";import {Paragraph ,Skia ,TextAlign ,Canvas ,Rect } from "@shopify/react-native-skia";constMyParagraph = () => {constparagraph =useMemo (() => {constpara =Skia .ParagraphBuilder .Make ({textAlign :TextAlign .Center ,}).addText ("Say Hello to React Native Skia").build ();returnpara ;}, []);// Render the paragraph with the text centerreturn (<Canvas style ={{width : 256,height : 256 }}><Paragraph paragraph ={paragraph }x ={0}y ={0}width ={200} /></Canvas >);};
文本样式属性
这些属性用于设置段落中特定文本段的样式。
| 属性 | 描述 |
|---|---|
backgroundColor | 文本的背景颜色。 |
color | 文本的颜色。 |
decoration | 文本装饰的类型(下划线、上划线、删除线)。 |
decorationColor | 文本装饰的颜色。 |
decorationThickness | 文本装饰的粗细。 |
decorationStyle | 文本装饰的样式(实线、双线、点线、虚线、波浪线)。 |
fontFamilies | 文本的字体系列列表。 |
fontFeatures | 字体功能列表。 |
fontSize | 文本的字体大小。 |
fontStyle | 字体样式(粗细、宽度、倾斜度)。 |
fontVariations | 字体变体。 |
foregroundColor | 前景色(用于渐变等效果)。 |
heightMultiplier | 行高的乘数。 |
halfLeading | 控制半行距值。 |
letterSpacing | 字符之间的间距。 |
locale | 文本的区域设置(影响诸如排序之类的事项)。 |
shadows | 文本阴影列表。 |
textBaseline | 文本的基线(字母、表意文字)。 |
wordSpacing | 单词之间的间距。 |
这些表格提供了一个快速参考,以区分 React Native Skia 中的段落样式和文本样式。您可以使用它们来指导开发人员如何应用各种样式来创建具有视觉吸引力且功能性的文本布局。下面是一个使用不同字体样式的示例
tsxuseMemo } from "react";import {Paragraph ,Skia ,useFonts ,FontStyle } from "@shopify/react-native-skia";constMyParagraph = () => {constcustomFontMgr =useFonts ({Roboto : [require ("path/to/Roboto-Italic.ttf"),require ("path/to/Roboto-Regular.ttf"),require ("path/to/Roboto-Bold.ttf")],});constparagraph =useMemo (() => {// Are the custom fonts loaded?if (!customFontMgr ) {return null;}consttextStyle = {fontSize : 24,fontFamilies : ["Roboto"],color :Skia .Color ("#000"),};constparagraphBuilder =Skia .ParagraphBuilder .Make ({},customFontMgr );paragraphBuilder .pushStyle ({ ...textStyle ,fontStyle :FontStyle .Bold }).addText ("This text is bold\n").pop ().pushStyle ({ ...textStyle ,fontStyle :FontStyle .Normal }).addText ("This text is regular\n").pop ().pushStyle ({ ...textStyle ,fontStyle :FontStyle .Italic }).addText ("This text is italic").pop ().build ();returnparagraphBuilder .build ();}, [customFontMgr ]);return <Paragraph paragraph ={paragraph }x ={0}y ={0}width ={300} />;};
tsxuseMemo } from "react";import {Paragraph ,Skia ,useFonts ,FontStyle } from "@shopify/react-native-skia";constMyParagraph = () => {constcustomFontMgr =useFonts ({Roboto : [require ("path/to/Roboto-Italic.ttf"),require ("path/to/Roboto-Regular.ttf"),require ("path/to/Roboto-Bold.ttf")],});constparagraph =useMemo (() => {// Are the custom fonts loaded?if (!customFontMgr ) {return null;}consttextStyle = {fontSize : 24,fontFamilies : ["Roboto"],color :Skia .Color ("#000"),};constparagraphBuilder =Skia .ParagraphBuilder .Make ({},customFontMgr );paragraphBuilder .pushStyle ({ ...textStyle ,fontStyle :FontStyle .Bold }).addText ("This text is bold\n").pop ().pushStyle ({ ...textStyle ,fontStyle :FontStyle .Normal }).addText ("This text is regular\n").pop ().pushStyle ({ ...textStyle ,fontStyle :FontStyle .Italic }).addText ("This text is italic").pop ().build ();returnparagraphBuilder .build ();}, [customFontMgr ]);return <Paragraph paragraph ={paragraph }x ={0}y ={0}width ={300} />;};
结果
